

“and in the eyes of the people there is the failure; and in the eyes of the hungry there is a growing wrath. In the souls of the people the grapes of wrath are filling and growing heavy, growing heavy for the vintage.”
― John Steinbeck, The Grapes of Wrath
In my backyard, there is no hunger growing for lack of grapes. I am riddled with them beyond all reckoning. Now I’m nowhere near ready to hire out migrant workers and there are no worker camps set up in the vacant lot next to mine, so perhaps things are not as dire here as they were in Steinbeck’s classic work. But I can’t steal his title without a shout out. Wouldn’t be polite.
In the eyes of this urban farmer, there is no room for hunger or wrath. There is a growing sense of panic, however, as my bazillion bunches of grapes begin to ripen all at the same time. Check here for more grape emergency details. Myself, my friends and my chickens have eaten their fill already and we can’t even put a dent in the vast amounts of grapes that are ready to go. TODAY!
One friend suggested I make raisins out of them, so on Sunday I gave it a go. Now typical raisins are made from Thompson seedless grapes, but I don’t have those in my yard. I have Niagara grapes, which are also seedless but a little bit smaller. Any seedless variety will do, but even grapes with seeds can be made into raisins. Albeit crunchy raisins, but the seeds are loaded with heart-healthy nutrition.
The Niagara grapes produce a tart raisin that reminds me of a tastier and more wholesome Fruit Roll-up. Or Fruit Leather, if you’ve ever had that. They’re actually quite yummy and better yet, will last for years as long as they’re kept in a dark dry place. I’m storing mine in some mason jars, but I doubt they’ll last more than a few days on account of how fast they are going now.
Regardless of what grape you decide to use, the steps are the same. I don’t own a dehydrator, so this will be the oven method. You can even let the sun dry them out, but it takes a lot longer (several weeks) and you run the risk of insects, mold or something that resembles a raisin but is not. If you follow. Poop for those not paying attention. The controlled environment of your kitchen seems to me to be the smarter and faster route.
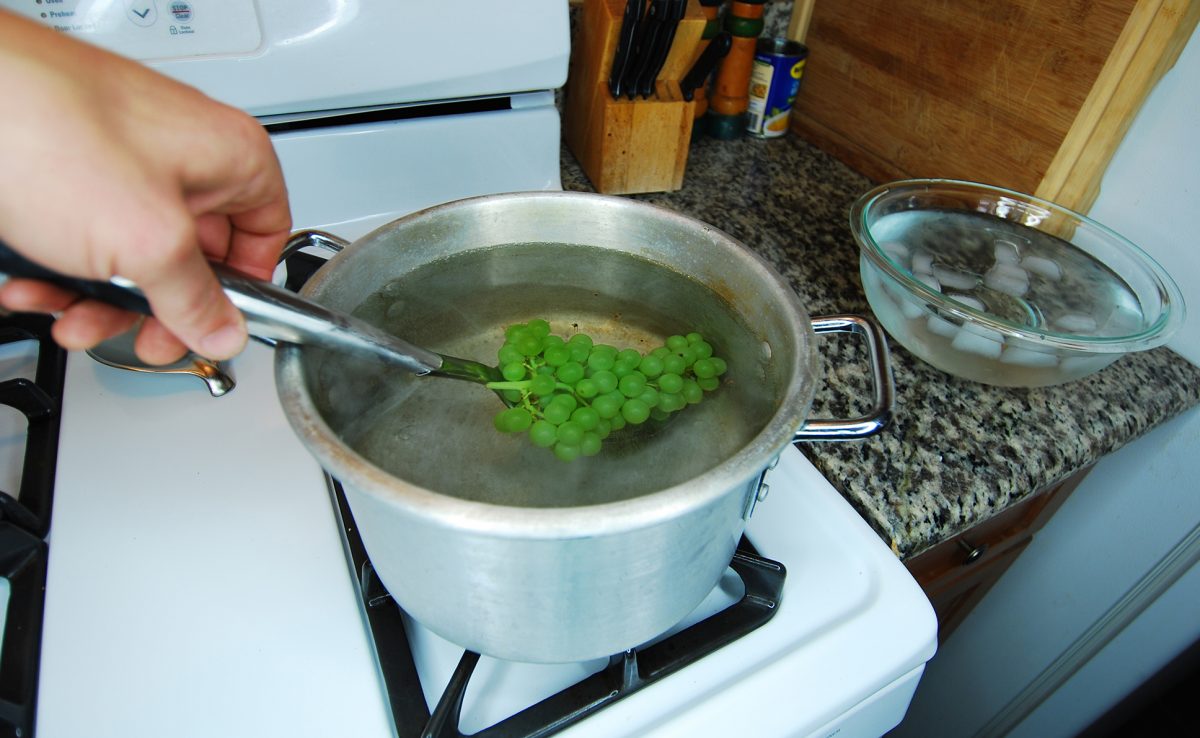
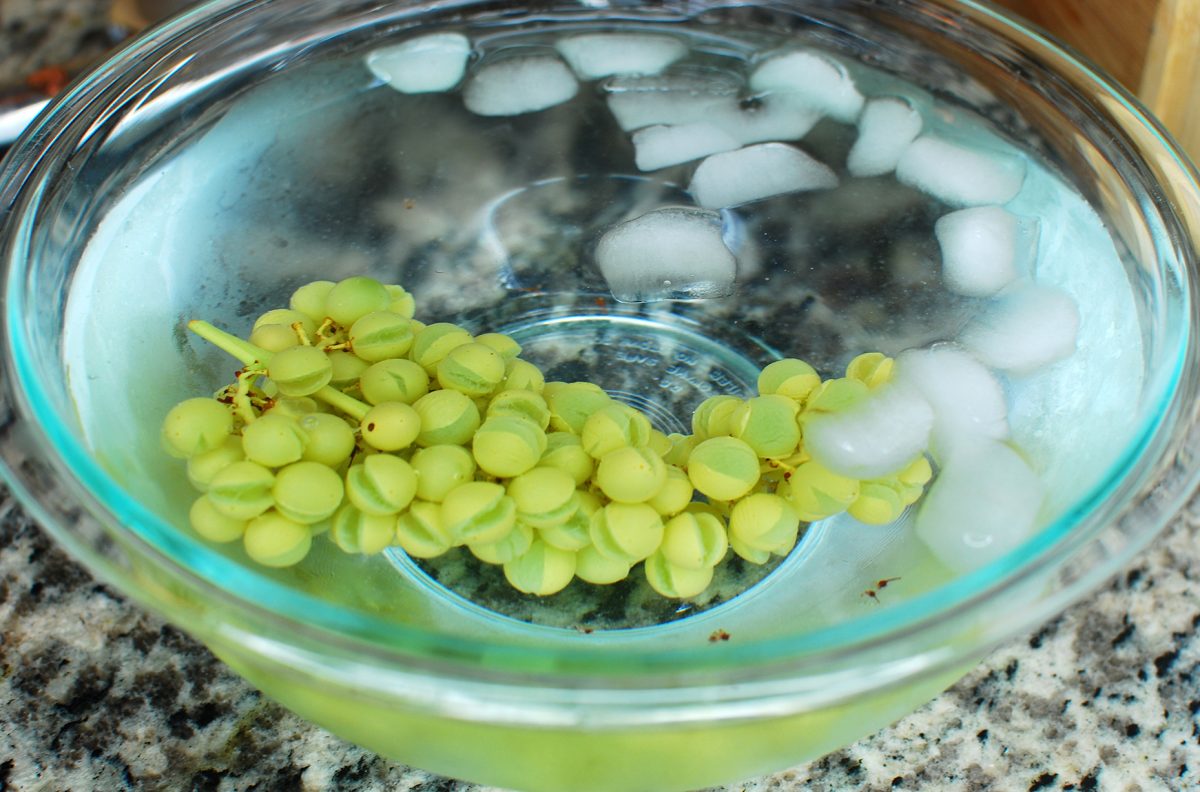
Another thing that helps when preserving fruits or berries that have a waxy skin is to blanch them. That means soaking them in hot water for about 30 seconds and then placing them into ice water right after that. This causes splits and cracks in the skin and allows for a more even dehydration. Here’s how I did mine, step by step with fancy schmancy photographs of each step.
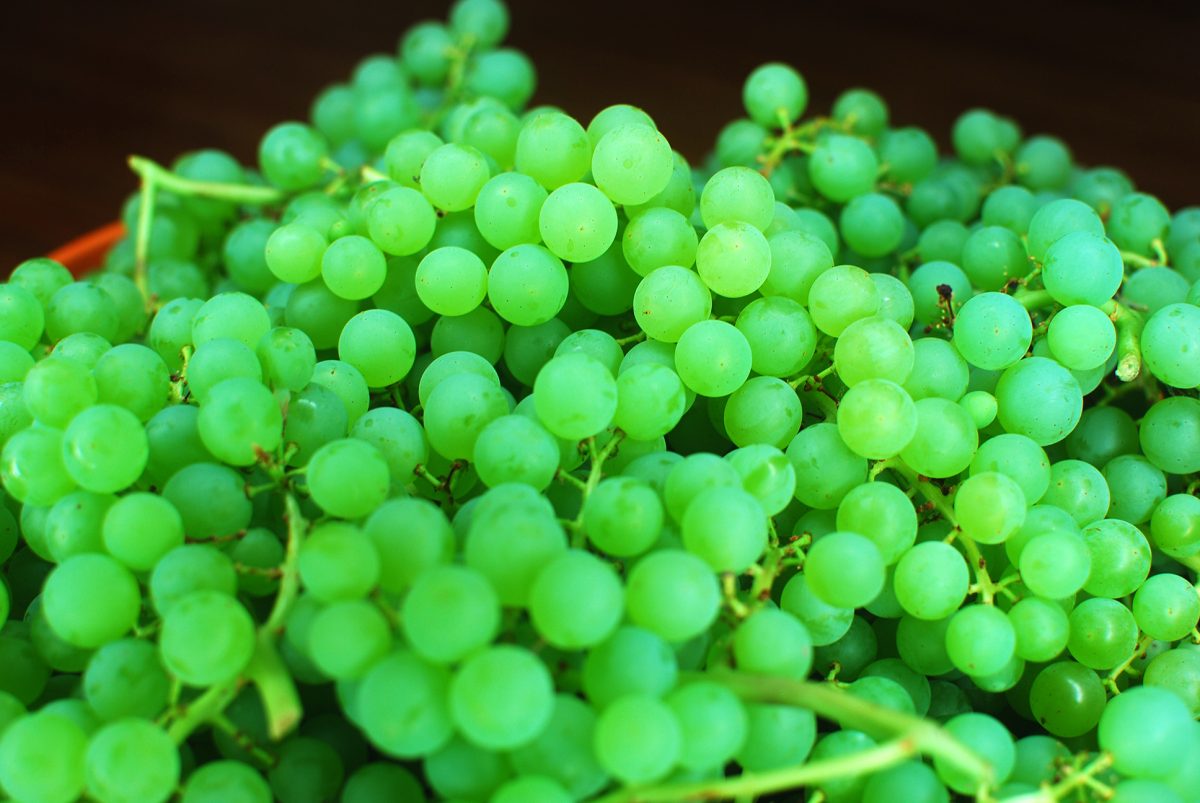
Step 1: Get yourself some grapes. Duh.

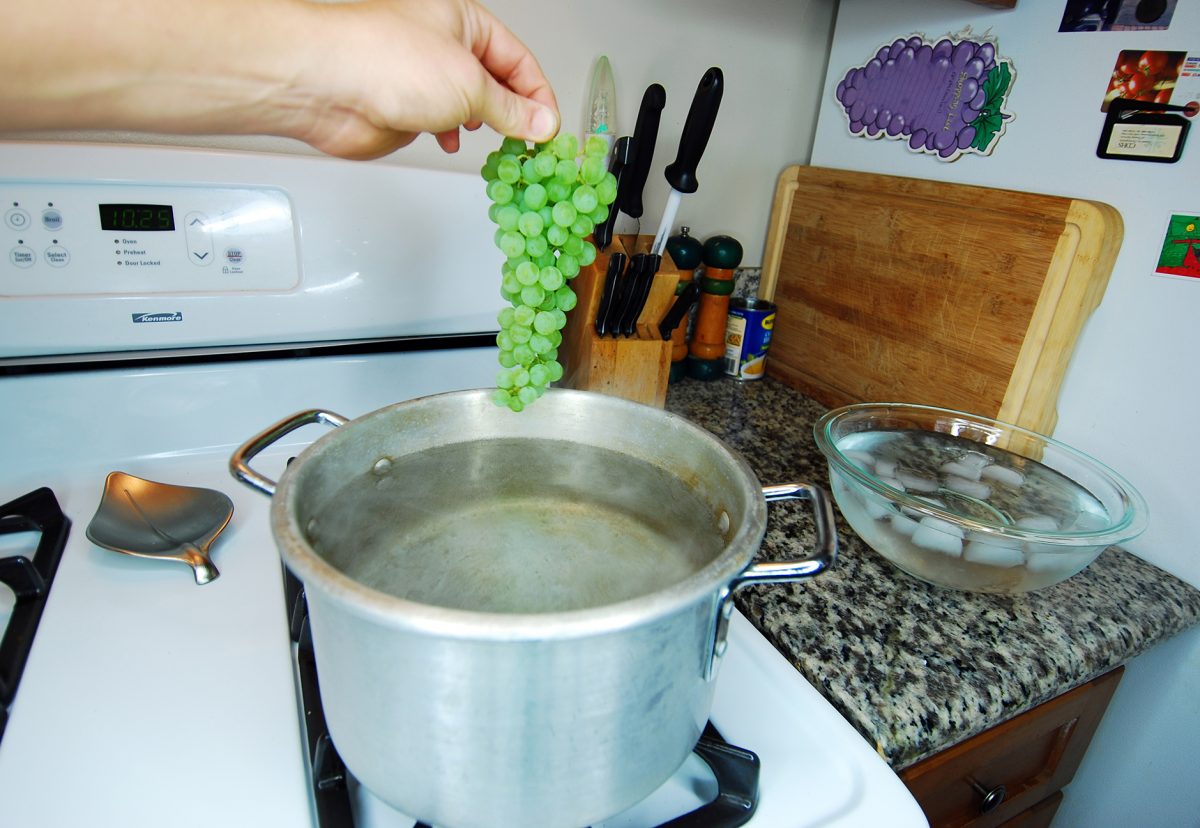
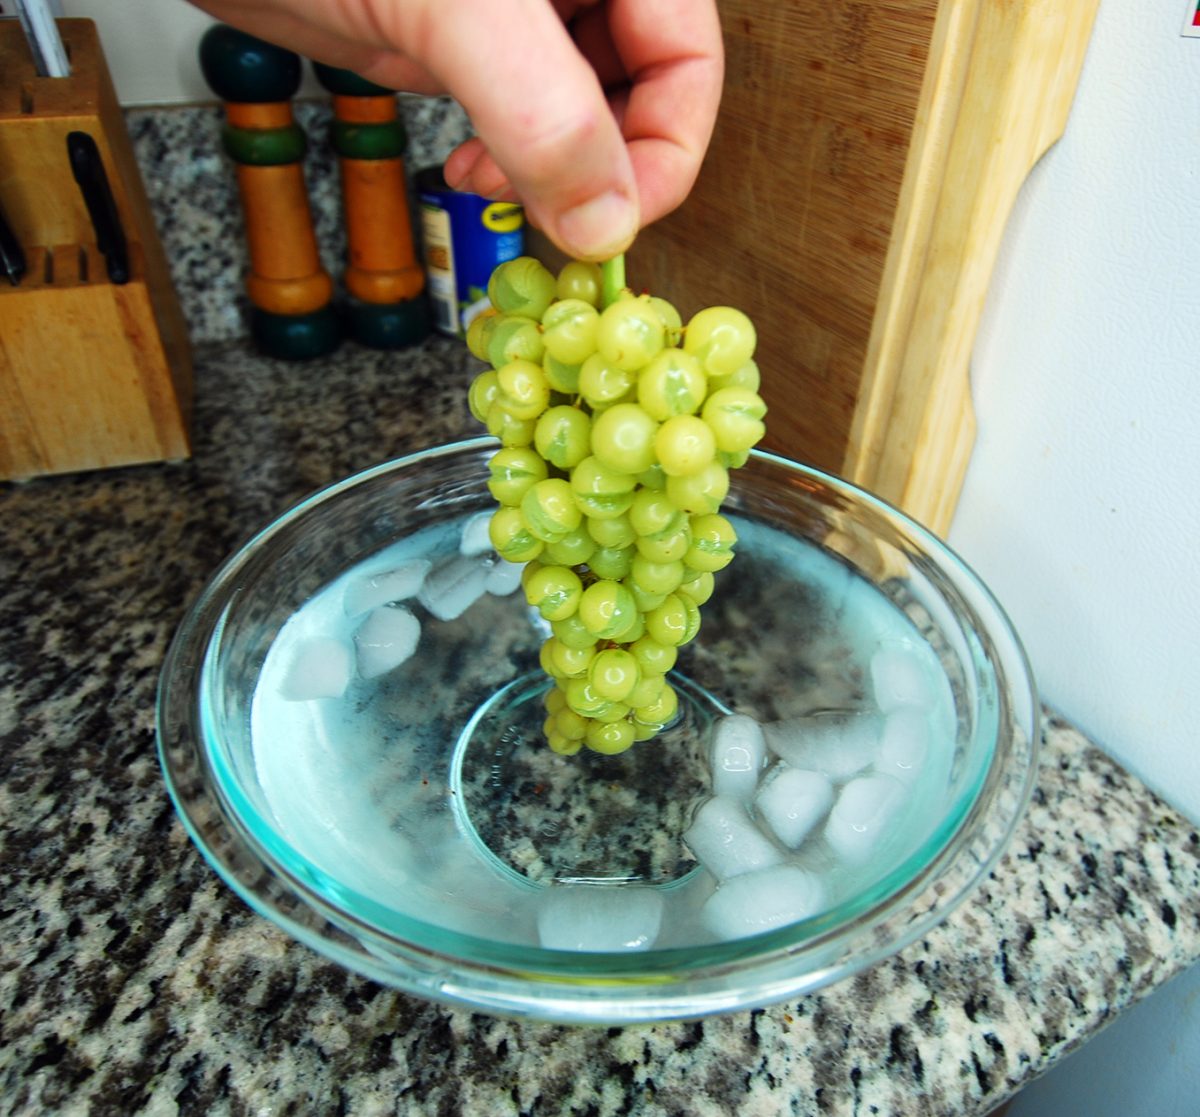
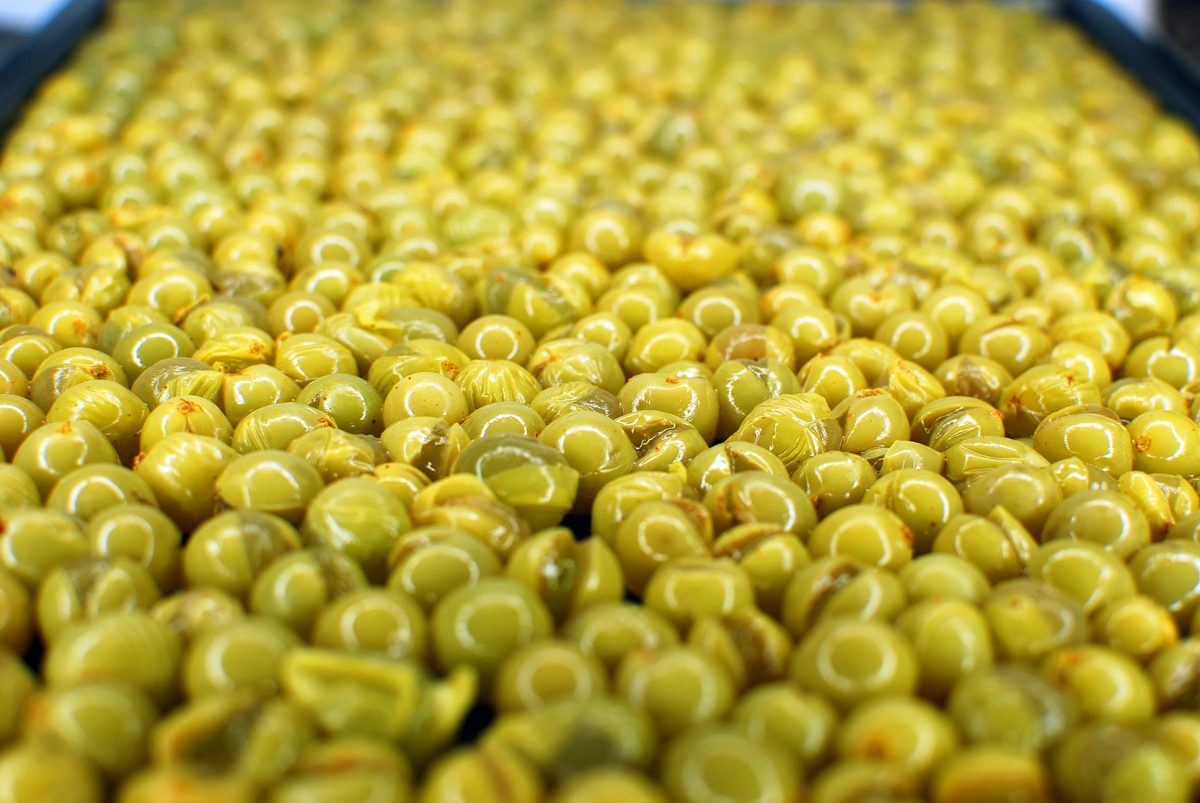
Step 2: Blanching or “checking” the grapes.
I heated up some water on the stove and prepped a bowl of ice water next to that. One thing I noticed is that the ice water quickly became luke-warm water after about five or six bunches, so be sure to have some backup ice ready to go!

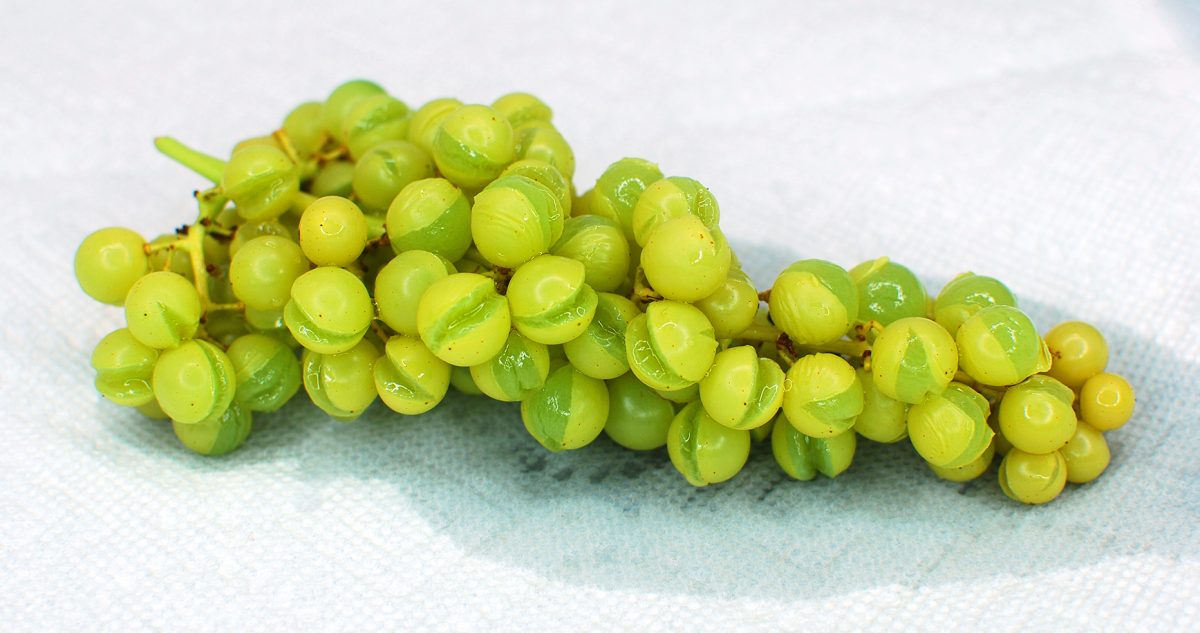
Step 3: The arduous task of removing grape from stem! Have the kids help with this “fun” part.
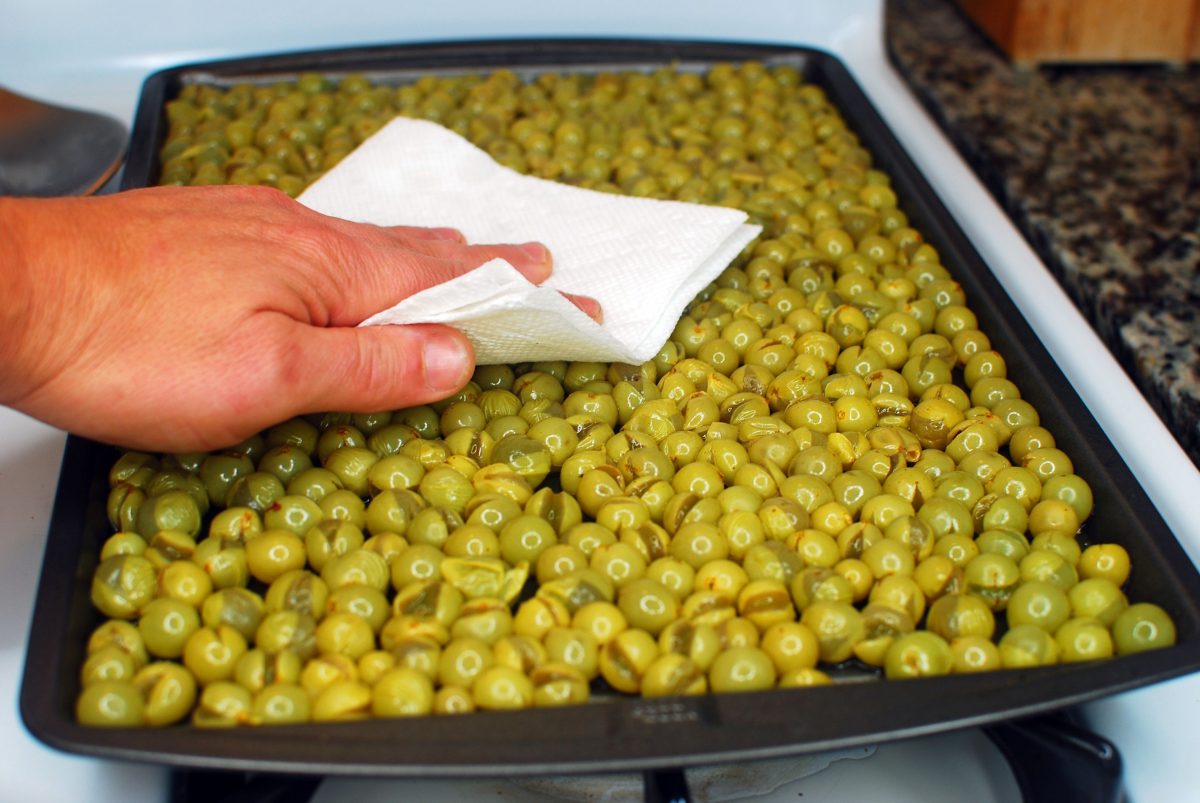
Oy vey! What a chore this step was, especially when you consider that I only harvested 1/500th of my entire yield. But I muscled through it. If you have a cookie drying rack or some metal screening, I recommend Using it here for better air circulation. I do not have these fancies in my meager kitchen, so I simply used cookie sheets. The only down side is after 12 hours you need to flip the raisins over so they don’t stick to the pan. Not that big of a deal so long as you don’t put them into the oven at 12:30 in the afternoon like I did. Yawn! The next day I was sleepy at work and a coworker asked, “up all night partying?” I had to say, “no, I was up late making raisins. You know, it’s all part of my rock and roll fantasy.” They promptly walked away.
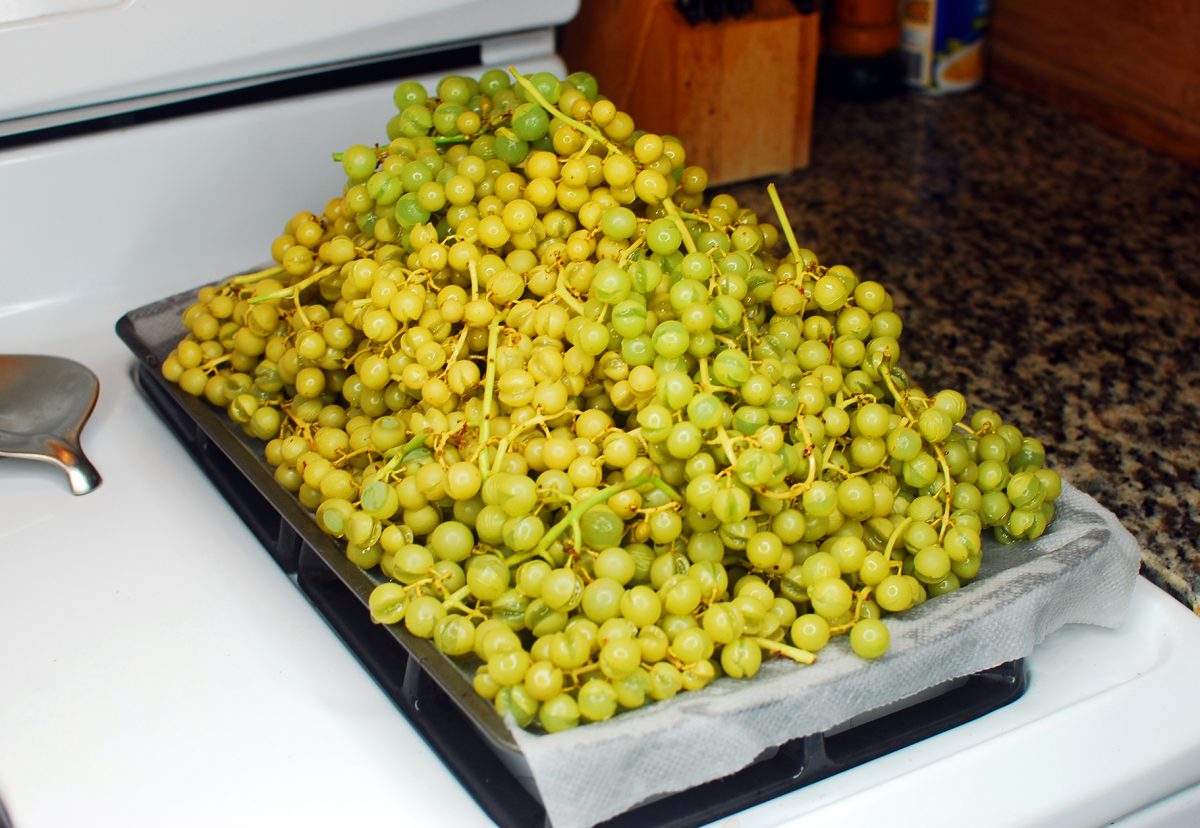
Anyways, whatever you use, make sure that all the grapes are all placed in one layer and not stacked on one another. Like this…
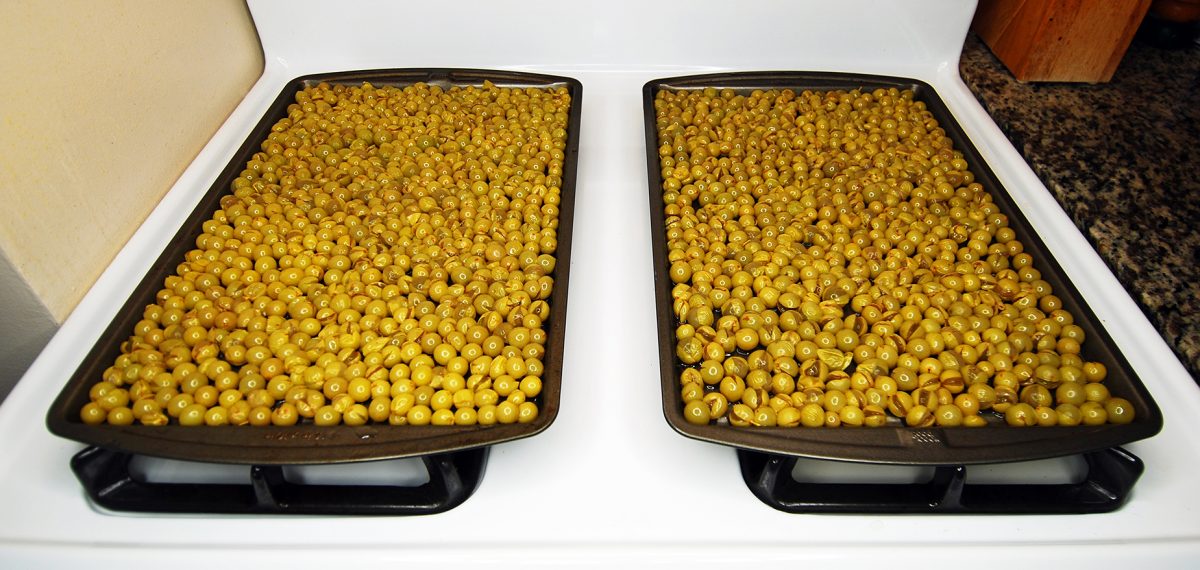
Step 4: The slow dry cook.
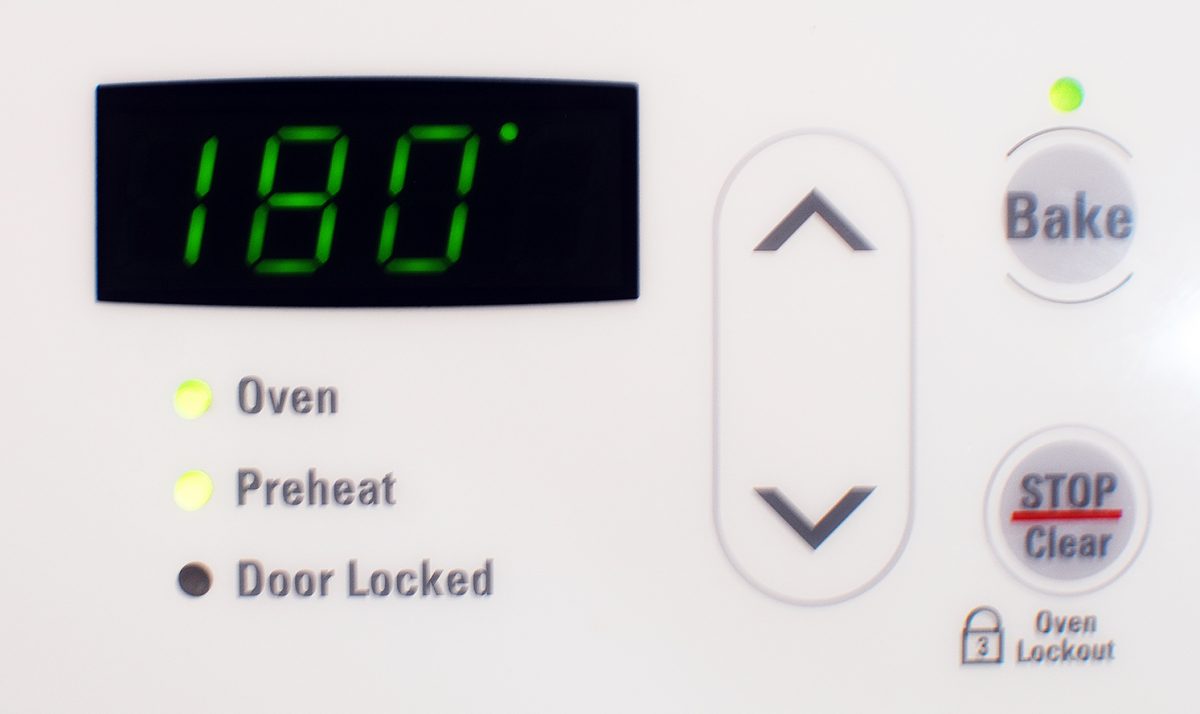
I set the oven at 180°, but I found that they looked like they were drying too fast so I reduced it to around 170° after about 10 hours. Over all, it took about 17 hours to make with a flip at around 12 hours. I was expecting 18 to 24 hours, so if your oven can go lower, give that a try. I’ve even read that you should prop the door open a bit to slow things down more. You’ll know they are done when, well, they look like raisins. I sampled several after 16 hours and felt they were close.
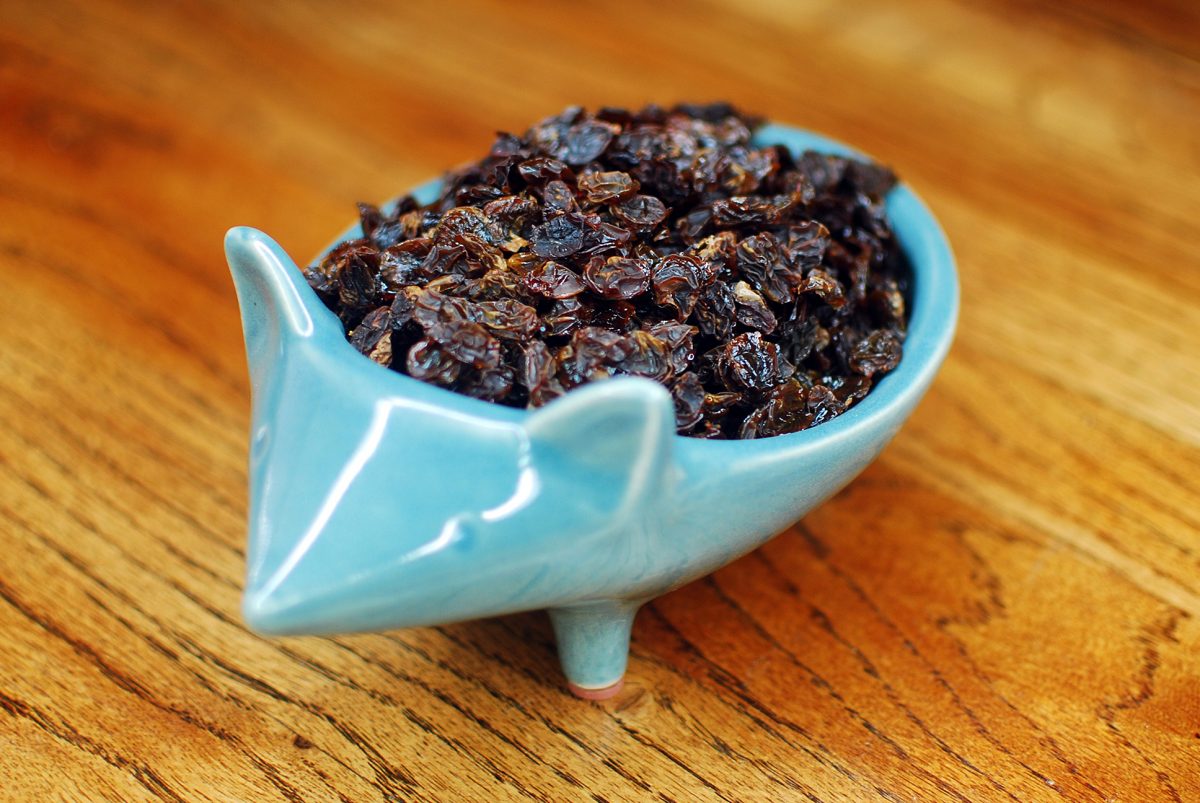
Step 5: Eat the raisins!
Kind of a no brainer huh? Allow them to cool off before storing them in anything. Once they are cool eat some and store the rest in any airtight container. Place that container in a cool dark spot like the cupboard. They’ll keep for years! If they look hard and crystalized with sugar after a year or two, just place them in warm water for a few minutes and they’ll spring back to life again! If they are getting moldy, you’ve had a moisture invasion and you need to toss them. Sorry.
And without further adieu, my paltry results…
So now I just have to repeat these steps about 378 more times and I should be good to go for this season. They are yummy though and can be stored for years so it’s a good solution if you happen to have a surplus. If you don’t have a surplus, it’s still a fun project that I imagine any child would really have a blast doing! I just happen to be a rather large child. With greying hair, aching back muscles and this annoying thing called a mortgage. Oh well, in my heart I’m only around 6 years old. And that’s all that counts right? No, not according to my bank. Will they take grapes in lieu of mortgage payments?
Tune in next week when I make some other food stuffs/creative fashion accessories out of these damned grapes!
If my new vines ever produce, I’ll definitely try this. Thanks!
Be careful what you wish for Dan! I’m up to my armpits in grapeish dilemmas. What type of grape are you growing?
Haha ok. But I’m still wishing. I have Reliance and Neptune seedless.
Mine moved slowly for the first couple years, then they exploded. Everything changed once I learned how to properly prune them. Big difference!
Good to know!
Yeah, huge difference after the winter pruning. What I love about grape vines is how self sufficient they are. Little water or fertilizer needs. In fact they prefer so-so soil.
I had read that about the so-so soil. Check.
Brilliant! I admire your commitment to 20hours of baking! (and the picking and the peeling and all of the rest!!!!!) Well done 🙂
Thanks Matt! I’d feel so much better if it had made a dent in the harvest though. I think Nury and I will be making juice this weekend, and then popsicles after that. Hopefully that will help. Next year, I’ll be ready for wine!
I’d be having a good whine with trying to work out ways to use all of those grapes, too….oh wait 🙂
You could trademark a gielownay or diegonay – you never know, it could be the next big thing!
Hahaha! A gielownay would be a nutty oaky blend indeed. Cheers Matt!
Thanks for sharing!
This is a new take on making raisins. Have you run the economics on it like you did for eggs? That would be an interesting post.
My own experience with raisin making started at a young age – at about 3am. It rained on my Grandfather’s raisins and he couldn’t get enough workers fast enough. I never was a morning person. My poor mother had to raise the dead at an ungodly hour. So there we were in the dusky vineyard shivering and waiting for the sun to rise. My Grandfather pacing back and forth fretting. “Glory be me!” and “For crying out loud!”.
Next came backbreaking work slipping trays. The raisins were laid out on paper trays to dry in the sun. We had to go through the vineyard moving trays to places were the soil was already dry to keep them from molding on the bottom. Those trays were about 30 pounds ( or was is 300?). Try as we might, we couldn’t keep up with the pros. Just the same, the job was fairly fun – until it got hot.
Growing up, most of my “farming” experiences started at 3 am under similar conditions. It wasn’t until too late that I realized that putting me to work on the farm was one of the best things my parents ever did to me. By then, I was on a different career path. I now dry my fruit on my air conditioner condenser and pray the rain doesn’t show up to turn every thing into a horrible sticky mess before it all dries. One summer I converted a Harbor Freight trailer into a mobile drying rack. I could wheel it into the garage if a monsoon loomed over the San Bernardino Mountains. Unfortunately, the Mojave winds kicked sand into what where otherwise beautiful dried apricots – lots of them. My parents dried their tomatoes on the diving board of their pool. Apparently the squirrels didn’t figure out the one access point to the trays of tasty tomatoes. Drying fruit could easily be a source of sitcoms. 🙂
At the time all I could do was to try and keep up with all those damn grapes. It’s looking the same for this year too despite my aggressive pruning. This year I’ll be ready! Maybe.
I’m envious of your farm upbringing. I’m just a dirty city boy. But I’m catching up on my rural training!
I love your story about the great grape emergency! I can relate on a smaller scale…
Actually I grew up in town. I just got put to work on occasion. I am very envious of my cousins who actually grew up on Farms and got to do more than sewing and cooking in 4-H.
Awesome post! I would like to grow grapes for juice and jelly.
Thanks Char! My mom used to make jam when I was a young lad. That’s the one thing I’ve yet to try doing with these grapes. This season I’ve been swamped with freelance museum work so I’ve been simply feeding them to my hens… https://youtu.be/YaUPCaWYrDc
I have been making raisins for 7 or more years and i just rince them off really good and put them in my dehydrator and let them do their thing.I don’t do anything else and Thay turn out marvelous😂
Hello someone. That’s the great thing about dehydators! They do all the work. This article is for the poor folks like myself who don’t have a dehydator though, so we use the oven instead.
What grapes do you like using for your raisins?
I have some not sweet giant grapes from my quasi-CSA (Perfectly Imperfect Produce), temps in the 30s tonight and a strong desire not to turn on the furnace. So, they’ll go in before bed tonight. I probably won’t blanch them because I’m lazy and I’d like to ensure they don’t get dry too fast. Thank you for sharing your technique. this is my first time without a dehydrator.
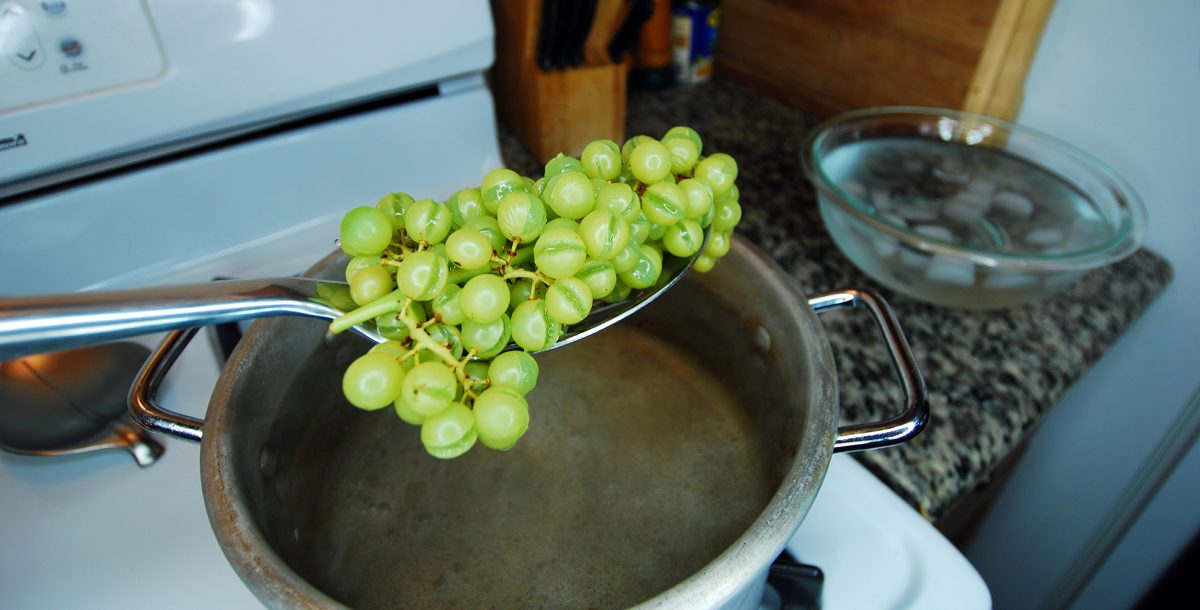
The blanched grapes look they they’re smiling, in an evil kind of way.
Next are the moonglows that got soft and the last of the cherries.
I store my dried fruit in the freezer just to be safe.
I’d love to hear how they turn out sans blanching. So please let me know when you’re done. A great experiment would be to blanch a small portion and compare the two. Just to see if it’s worth the extra step.
The obnoxious part for me was not the blanching but the laying out of the grapes in a single layer. But I get bored quickly with repetitive tasks…
The cherries sound amazing! I’d love to try that one time. Let me know how those turn out.