A New Bed for the Coastal Coral Tree with a Cardboard Weed Barrier

Before I begin this post, I’d like to say how today was total providence!

I began this project around 9 am as overhead clouds hung low and fat with a promise of rain. After having THE hottest summer in recorded history, getting a day like today to work outside is truly a gift. As I labored away, which you will see below, I would often stop and look up with a ginormous grin on my face as fat drops of water pounded my face.

Exactly when I took my very last photograph after finishing this project, the sun popped out around 2pm and the heat came back with a vengeance. Just as I was slipping in the front door to sit in front of my many fans. My feelings can best be summed up via the masterpiece film A Scanner Darkly, based on the Phillip K. Dick novel. See it. Read it. Now.

I’m calling this a sign that today’s post was meant to be. That said, let’s begin.


My coastal coral tree, which I’ve written about a few times here, has proven to be quite the fast grower. Every year it doubles in size. Much to my immense pleasure. Here it is as a young pup. Also, this specimen was from a branch cutting . You can learn how to propagate coastal corals right over here. Or how to prune this tree over here.

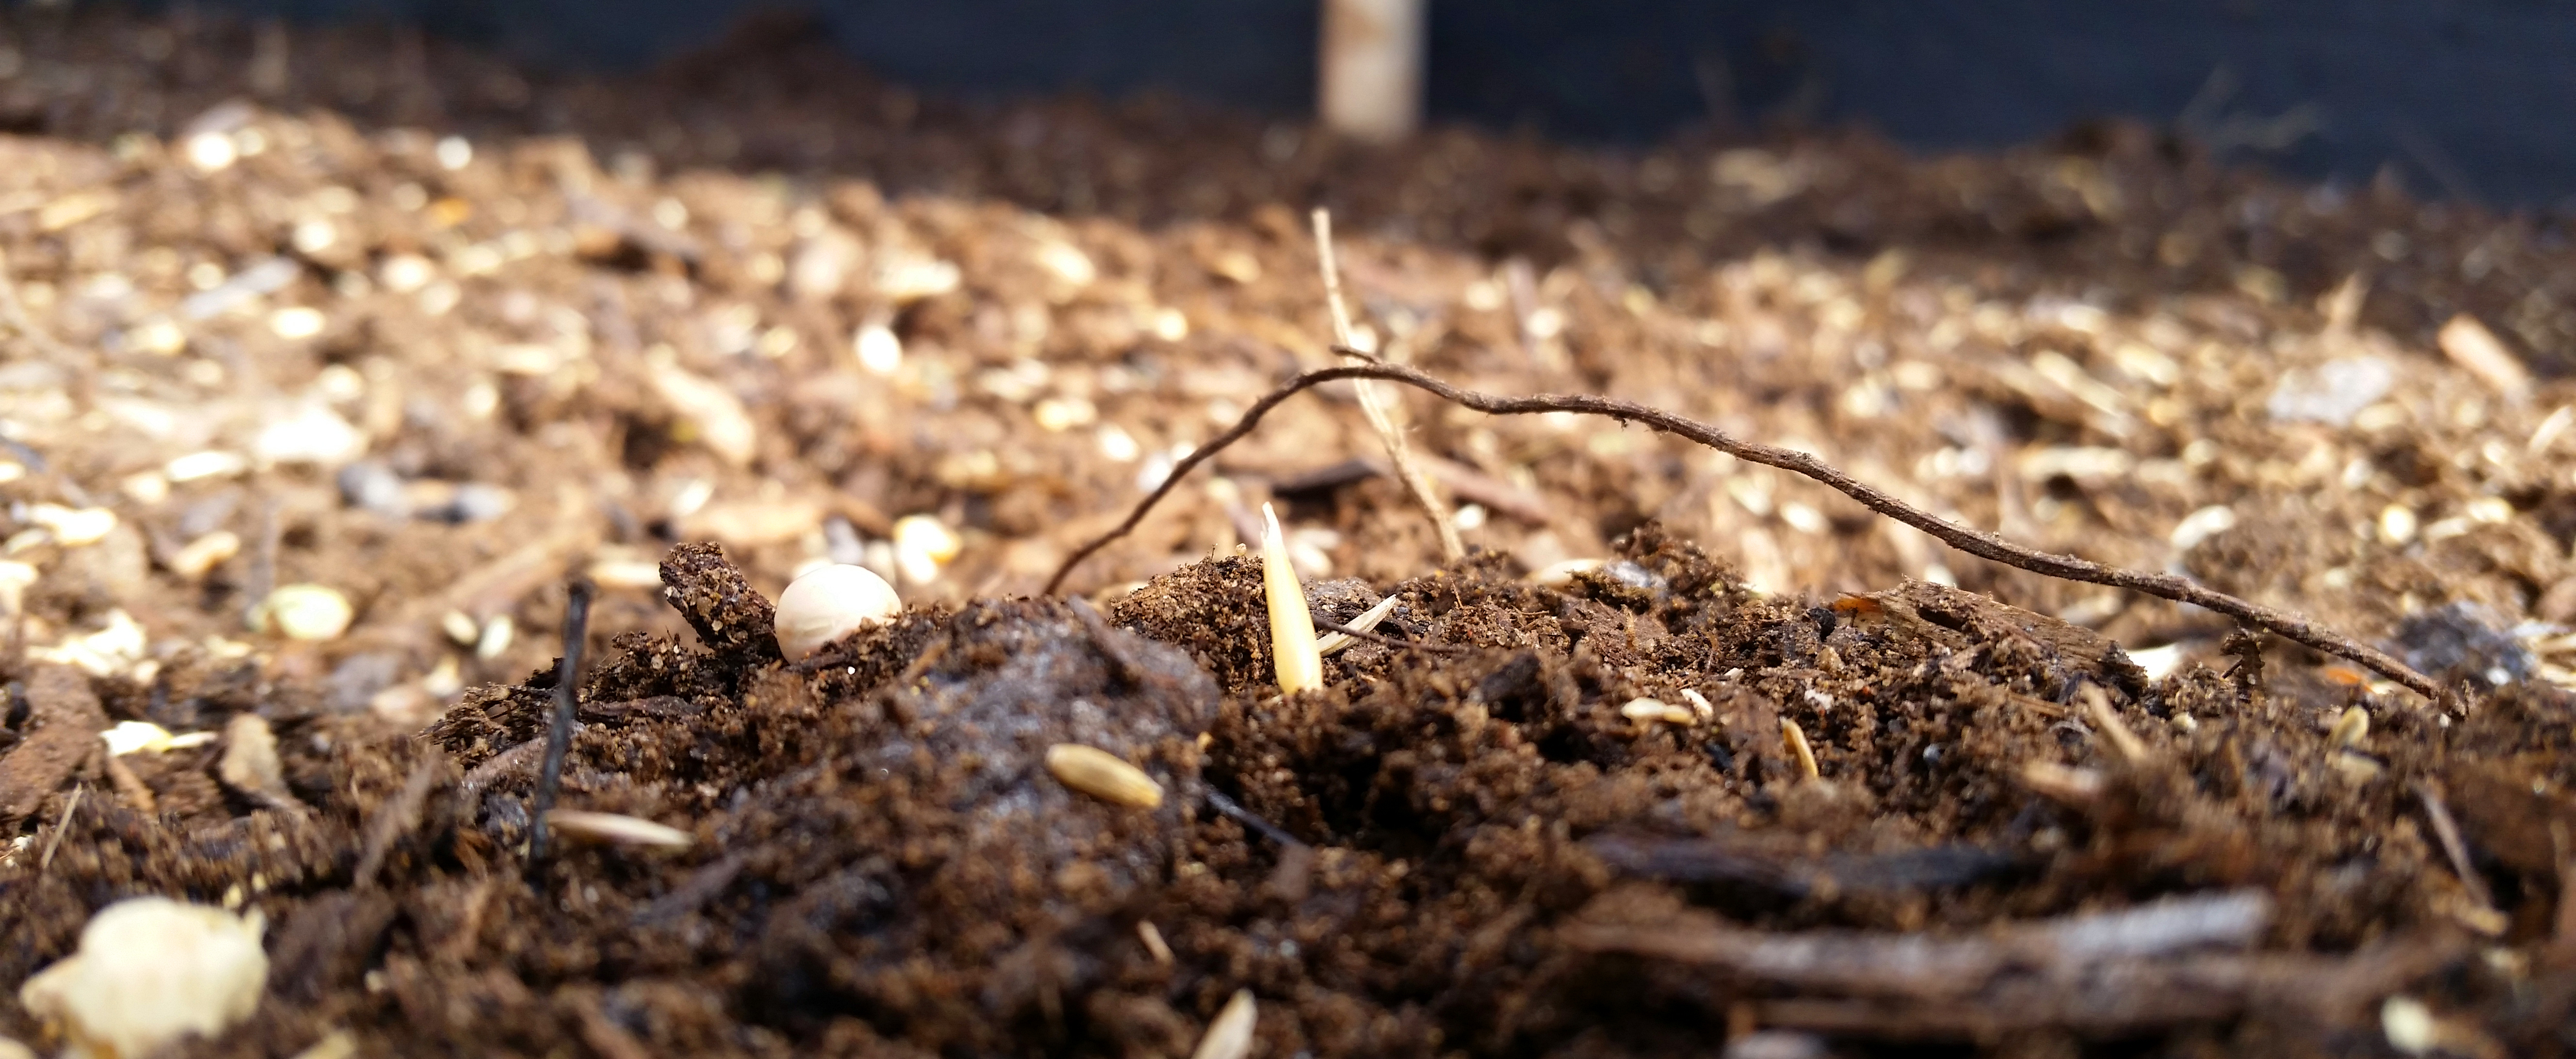
It’s grown so damn fast that the paltry tree ring I placed lovingly around it is now dwarfed in only two years. It looks like a poor geisha girl with feet bound and shoes too tight. That, coupled with some incessant crab grass, has caused me to want to remedy the situation. Just look at this unsightly mess!

A New Bed for the Coastal Coral 01_The unsightly mess

A New Bed for the Coastal Coral 02_The unsightly mess detail

Good lord! You can’t even see the ring any more! Something must be done to free up the tree trunk as well as the carnations surrounding it. In case you’re about to cast judgment upon me for the length of my grass, rest assured it is completely intentional. This summers experiment involved some tight state-mandated water restrictions because of our continued drought.

I am proud to say that I’ve maintained a lush and healthy green lawn ALL season long. Using about 30% of the water I used in previous years. The length of the grass is all part of the experiment. A rather successful one at that. Interested in learning more? Go here.


 But let’s get back to our new tree bed shall we? Continue reading “A New Bed for the Coastal Coral Tree with a Cardboard Weed Barrier”

Planting a Winter Garden: Soil Repair Time!

Late as usual

Hello dirty minded peeps! Well, as usual, I’m a bit late in my planting schedule. I was hoping to start my winter garden last month but have been swamped with other projects. This would be a poor time for most of you out there to start with the impending frost heading your way, but to folk living in SoCal it’s a moot point! This will be the first time I’ve ever tried doing a winter cover crop that wasn’t specifically just for the dinner table.

What is a Winter Cover Crop?

A winter cover crop consists of plants that are perfectly designed to repair the soil after all the leaching of nutrients that occurred during your spring and summer growing season. Not only do they add precious nitrogen to the soil, but many of the plants roots are perfect for reaching deep into the earth to break up the soil that your normal crops can’t reach. They then pull up the nutrients to make them accessible for the next spring/summer growing season. Then all you have to do is turn everything into the soil for a perfect green manure. It’s a win win situation! For more information on nitrogen fixing plants, check out my article on legumes!


Prepping the space

So the first thing I needed to do was to get the garden ready. I was getting tired of the many rows I made before and how inaccessible the whole garden was when everything was growing madly. I decided that I wanted to consolidate everything into one, easy to get around, raised bed. I had a bunch of scrap cedar planks left over from an exhibition at The San Diego Museum of Art that were used for our Piranesi exhibit as rustic wood flooring. I used some of it to build my chicken coop, a compost staging bin as well as other yard projects. One of the many perks of working at the museum is repurposed materials!

I began by pulling all the weeds out, removing the spent summer crops and raking the soil into a pile instead of the 4 rows it used to be. I had to move the micro drip irrigation in order to do all of this.

20141101_113629

Continue reading “Planting a Winter Garden: Soil Repair Time!”